Who doesn’t love having fresh flowers around the house or giving a thoughtful bunch to a loved one to mark an important date or just to say hi? Flowers can immediately lift our mood and add a touch of color to our lives. While buying a pre-made bouquet is quick and easy, sometimes it can be more fun, meaningful and far more cost effective to make one yourself.
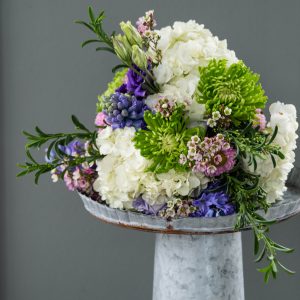
Making your own means you can really customize your bouquet to fit your tastes. I like using a variety of colors, textures and shapes in mine and I promise it’s far less complicated than you might think.
Tools:
Wire or florist tape
Sharp scissors
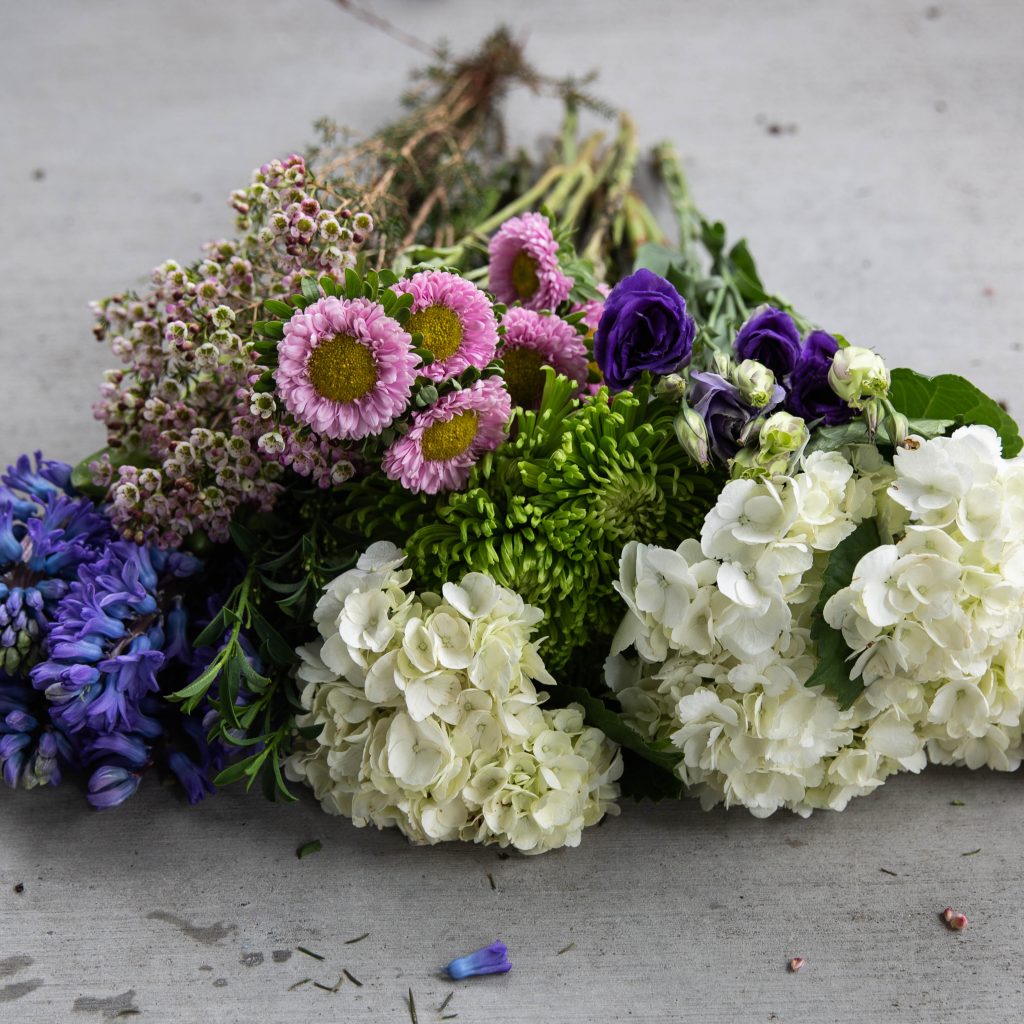
Flowers and foliage picking an odd number and complimentary colors
Vase
Before you begin think about how you want your final arrangement to look, do you want something more formal and close knit or something light and airy. The answer to this question will determine your binding point, the spot where you’ll hold your stems as your work. For a tighter, formal look hold your stems closer to the blooms. For a more romantic, lose look, hold the stems lower. The binding point may also be determined by the shape and size of your vase. Keeping this in mind as you go will also help with flower placement.
Ok, now that you have your vision in mind let’s get started.
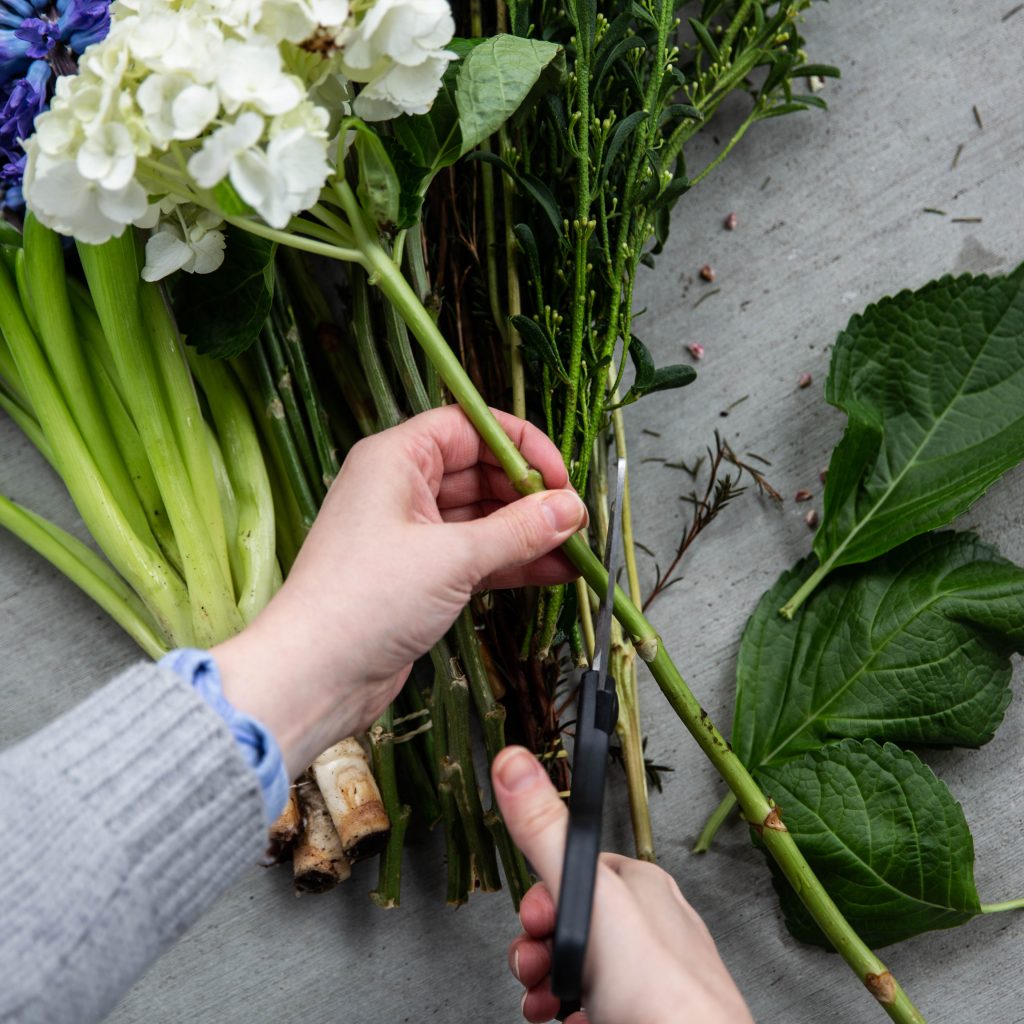
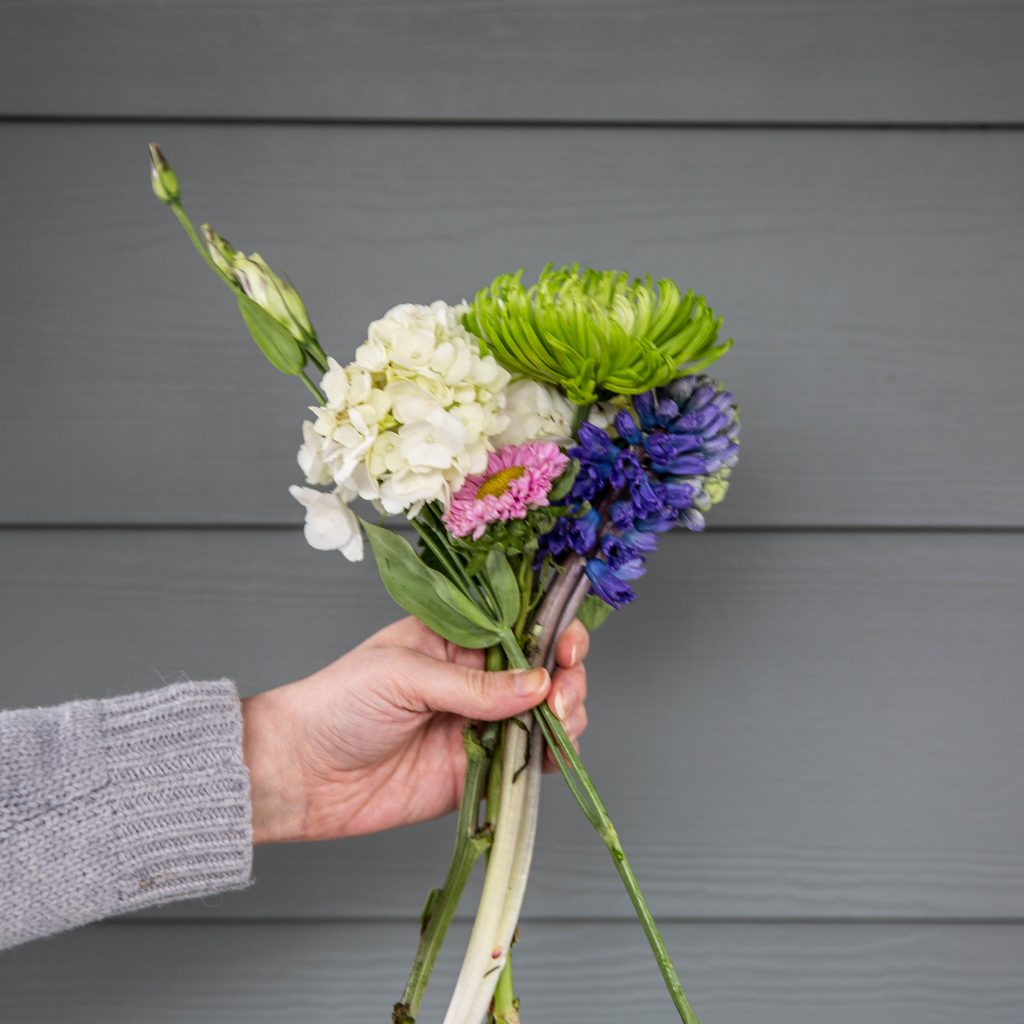
Lay out all of your flowers and foliage, trim off lower leaves to prevent mold and cut the ends at an angle. Trimming the stems at an angle ensures the flowers will get water, if the stem is flat it might end up resting flat on the bottom of your vase and will have a hard time getting water which means it won’t last as long.
Pick your focal flower, this could be your largest bloom but could also be a grouping of 3 of a kind flowers like tulips, daisies or roses to create one large focal flower. Choose 3-5 stems of complimentary flowers and add them to your focal flower. The tips of these flowers should sit just above the focal flower. This is the center of your bouquet. Hold this grouping together, in your non dominant hand, at your binding point.
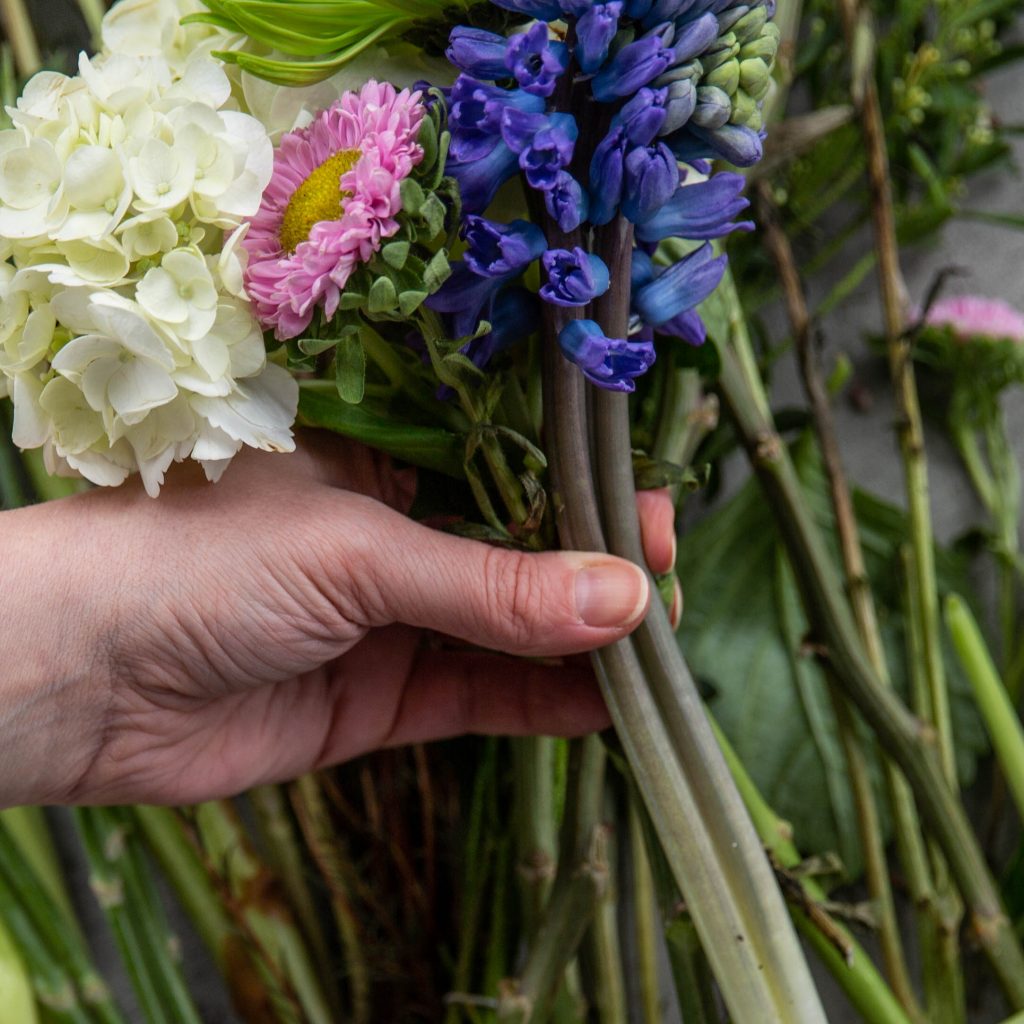
Start to add more flowers and foliage at the binding point at an angle with the head of the flower facing away from you, stem toward you and down. The tops of these flowers should sit just below the center grouping. If you’re adding longer, thinner foliage allow some of it to stick up higher than the flowers to add more interest. You can work in a pattern or add flowers based on fill size, so if there’s a large gap use another big flower or again group three of the same smaller flowers together.
Rotate your bouquet with each new addition, adding at an angle each time.
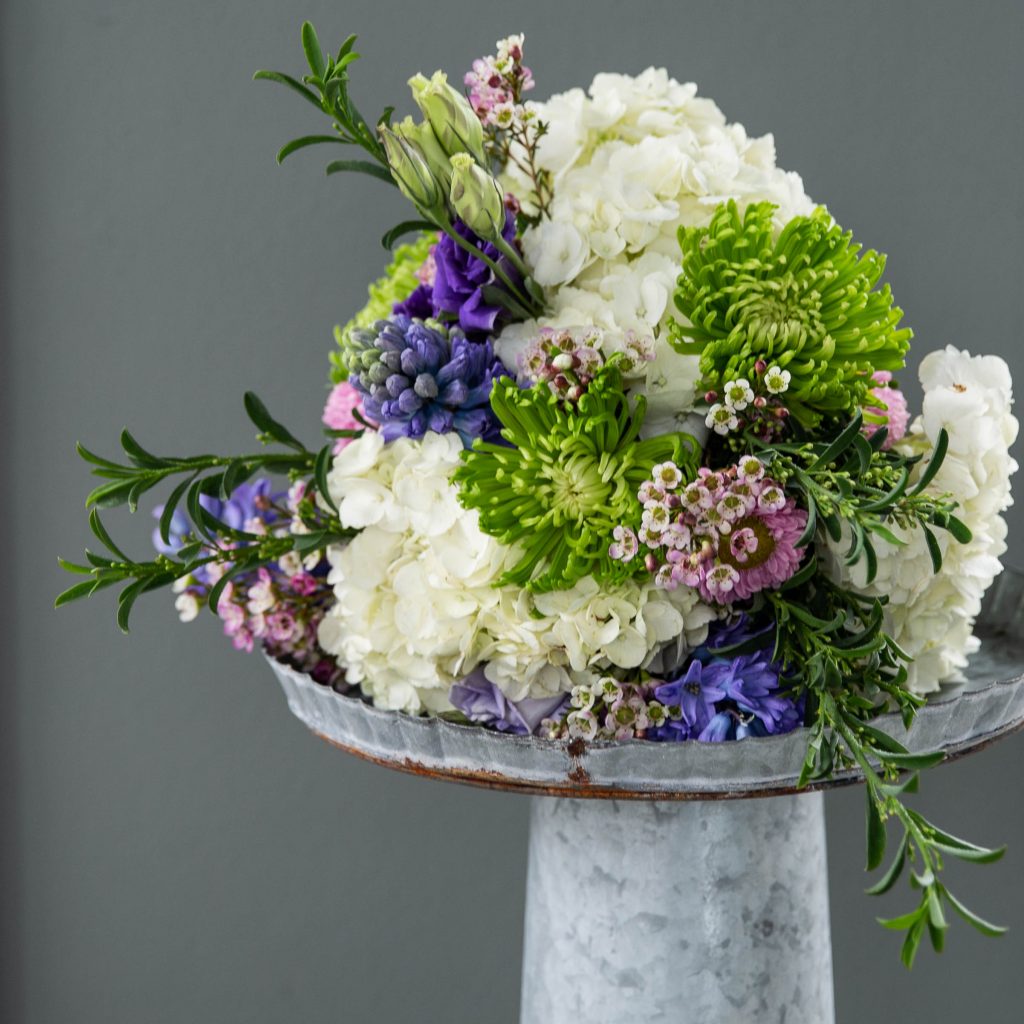
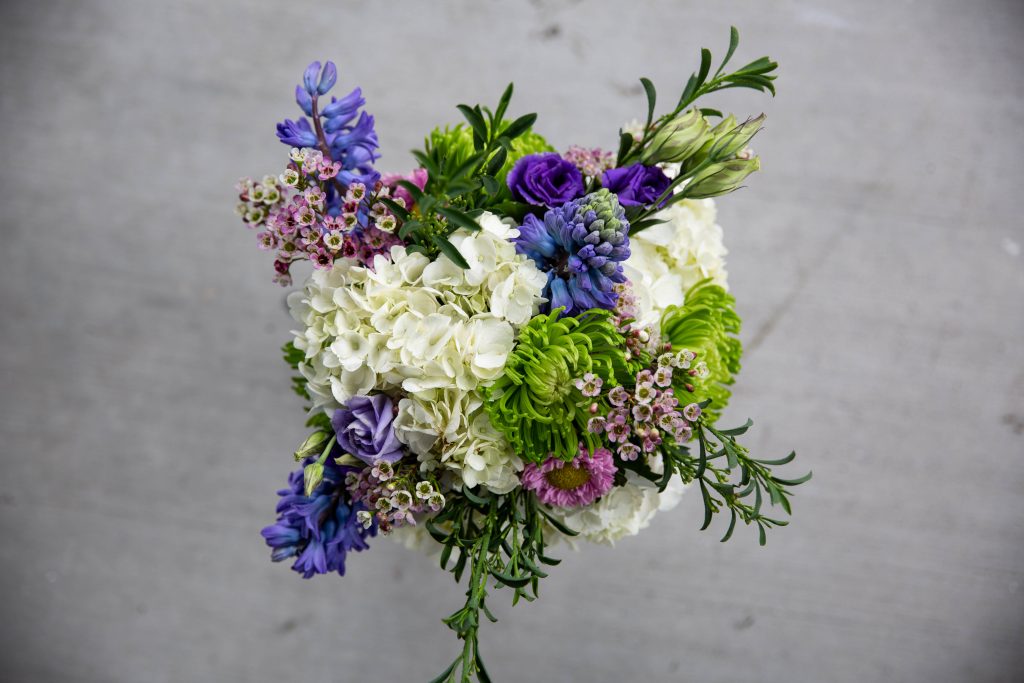
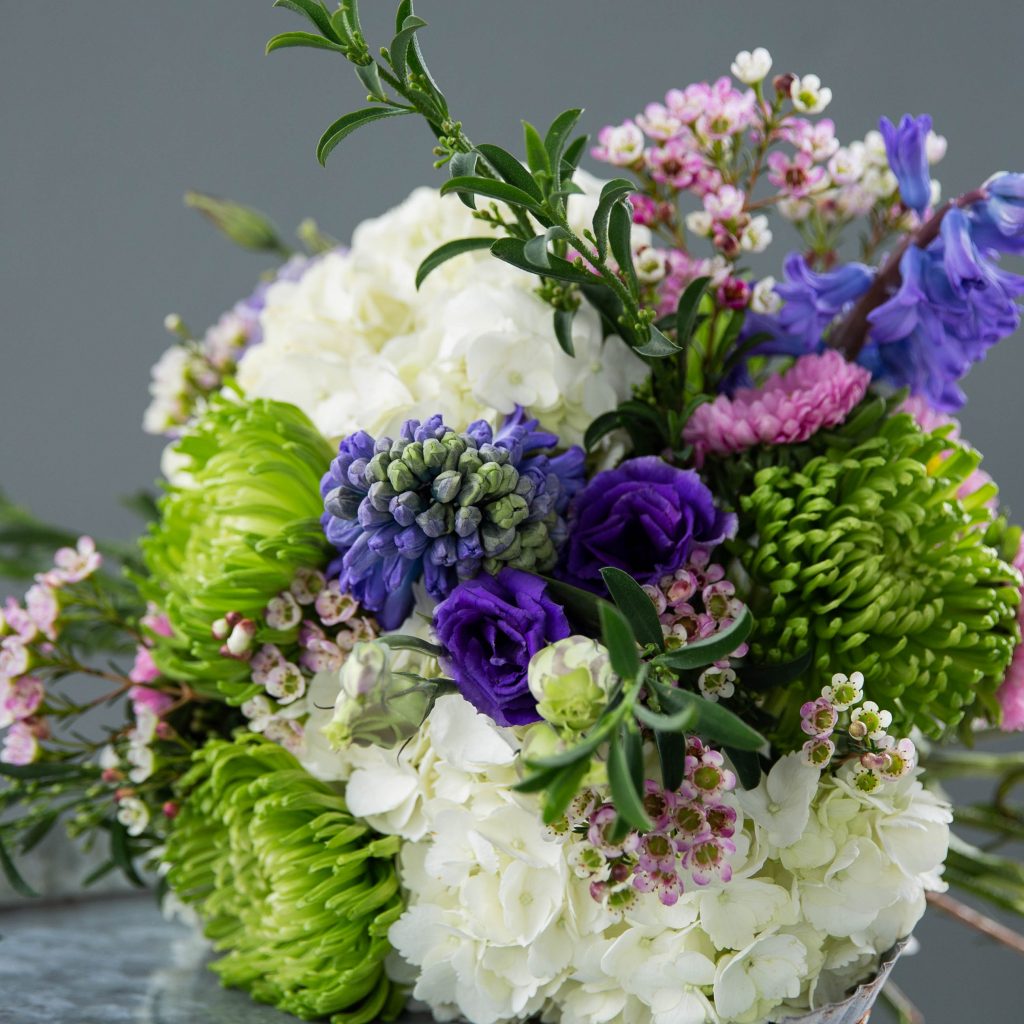
Check the bouquet from the top to make sure size and color distribution is balanced. Continue adding each layer just slightly lower than the one before starting to create a ball
shape.
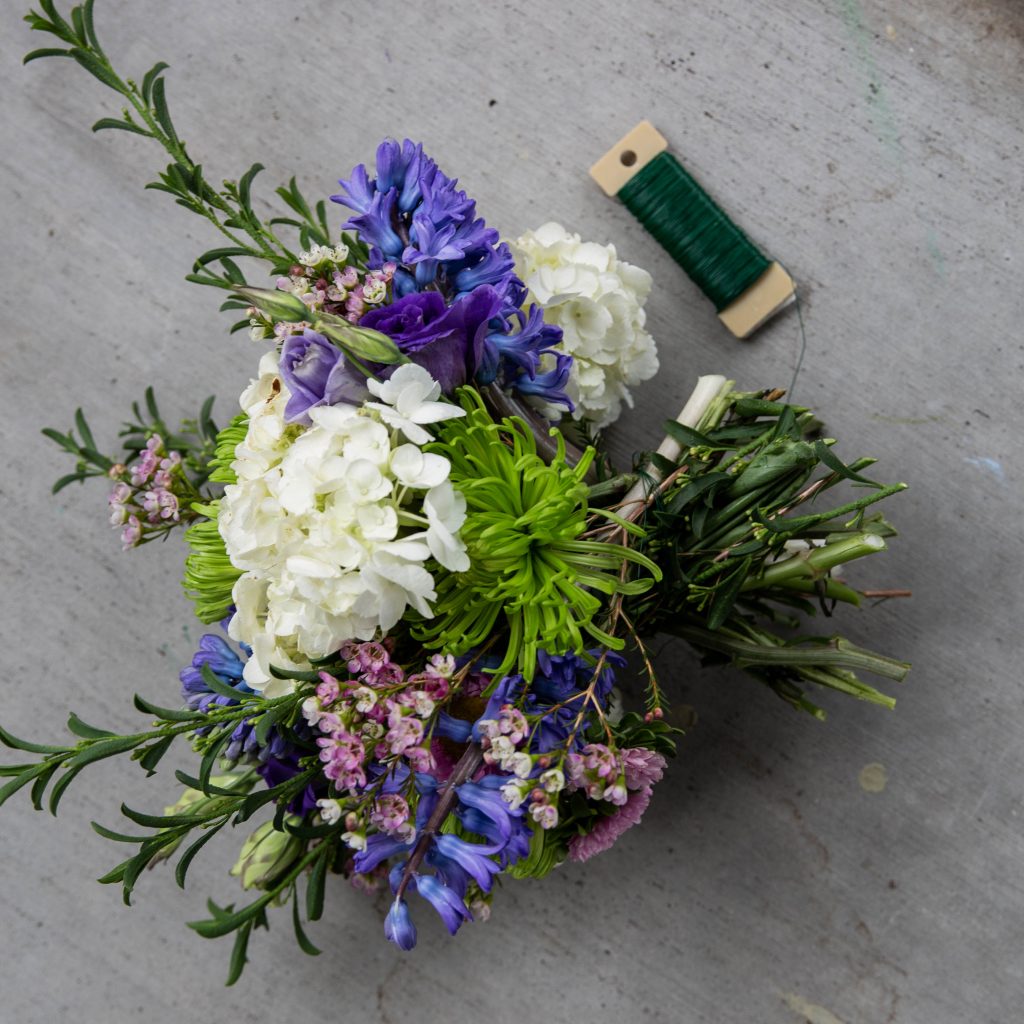
Once you’ve used all your flowers wrap wire or florist tape around the stems at the binding point. Trim stems (at an angle) as needed to fit your vase and enjoy your beautiful creation!


Leave a Reply